There are, tons of ways to do this, including some nice ones with floaters and stuff. Here I present a quick and dirty technique. For my example, I used two images of the same width. If your images do not share a dimension or are dimensioned "wrong" for the fade you have in mind, you may have to go to floaters or play with increasing image sizes and stuff like that. I will not get into that here.
NOTE : PAINTER 5 changed things again. Watch for Painter 5 corrections in the text that follows.
NOTE : PAINTER 6 changed things again. There are no Painter 6 corrections in the text. The technique should work fine, but you'll have to translate from Floater terminology to Layer terminology. Also selection <--> mask behaviour has changed. It should all be possible, just maybe obscure w/ relation to this text.
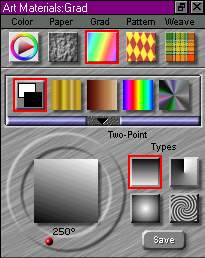
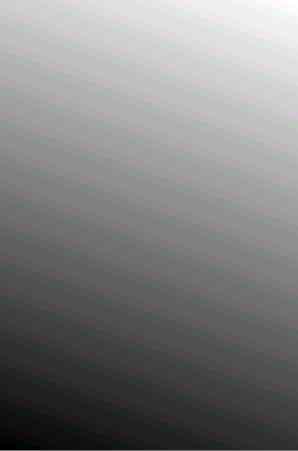
Select the Art Materials: Grad palette. Select the first simple two color grad option. If your current colors are not black and white, make them so. I put my gradient at a bit of an angle just for dramatic effect.
Use the Paint Bucket tool with Fill What set to "Mask" and Fill With set to "Gradation". I show the mask here with the View Mask option. Fill the mask of one of the two images with the gradient.
NOTE : PAINTER 5 changed things again. You will need to Mask: New Mask, before you have a mask to fill. Then in the Mask List, select the new mask to make it the active painting target.
(ASIDE : PAINTER 5 changed things again (bug?). If you are using a floater based technique the ONLY way known to use the Paint Bucket to fill a floater's mask is to select the mask in the Mask List and then use the menu option Edit: Fill to perform the fill.)
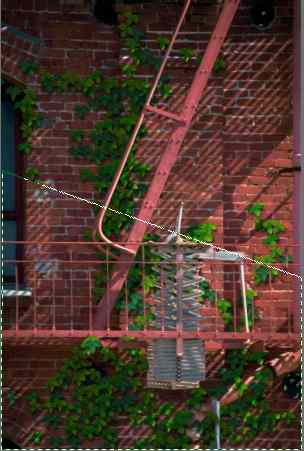
Using the mask visibility icons in the lower left, pick the marching ants icon. Your image should look something like this.
NOTE : PAINTER 5 changed things again. On the Mask Palette, pick Load Selection button. Load selection from the new mask you just filled. You should have marching ants now.
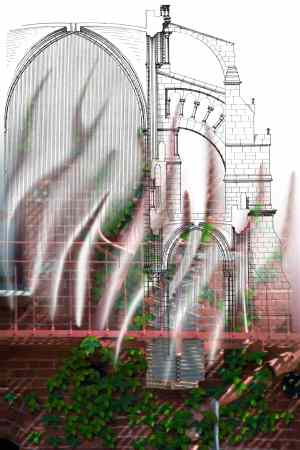
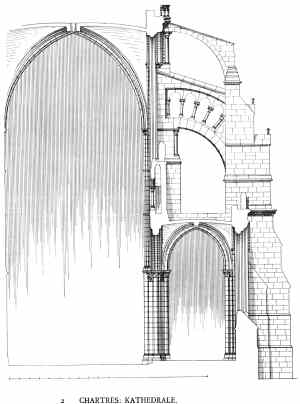
Use File: Set Clone Source... to set the clone source to the other image (that without the gradation mask). Using the Paint Bucket tool with Fill What set to "Image" and Fill With set to "Clone Source". Click in the half of the image that you want to replace with the second image.
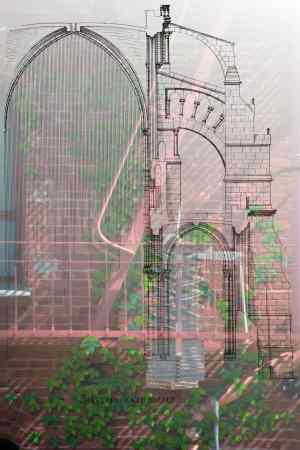
Using the simple default linear gradation actually gives kinda poor results. Too much of the image is mixed
and hard to see. Here's two easy ways to fix this:
1.You can use Edit Gradation to reshape the gradation so that the ends are more extreme with the
bulk of the gradation near the middle.
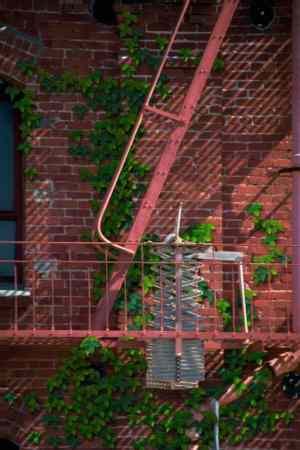
Either way, by pushing the wishy washy grays towards the middle of the gradation, you get more solid image on either end of the picture. Adjust to taste.

If you are wild and crazy, you might want to play around with the mask for special effects.