If you have an image with a non-rectangular edge and you want to be able to combine it with other elements you'd like to have the edges look all pretty and "anti-aliased".
Poser addresses this issue by saving a mask channel with soft edges as part of your image so that when you bring it into Painter as a floater the edges will be gently faded into the background. The mask looks kinda like this:

This way, whatever your floater is above starts to show through at the edges and the floater and the background blend smoothly.
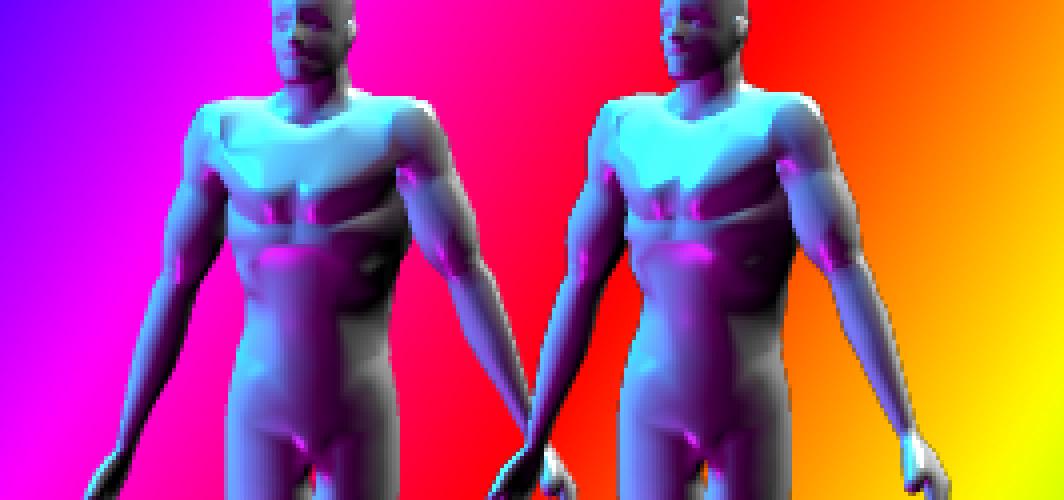
At least, they should. In order to get the anti-aliased mask, you have to turn on anti-aliasing in your Poser render. This is useful on the interior of your person, smoothing out the jaw line and all that, but it is bad at the edges of your person. Poser blends the person and the background.
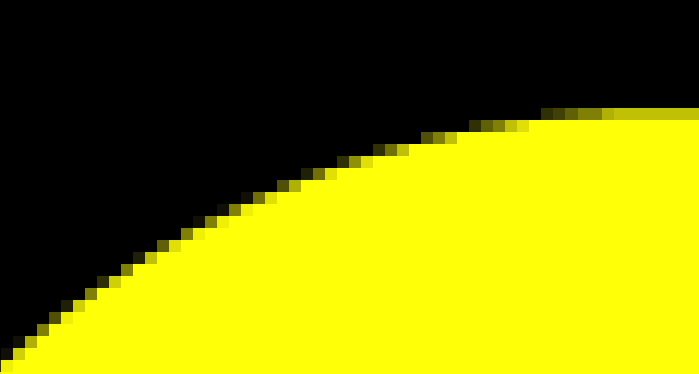
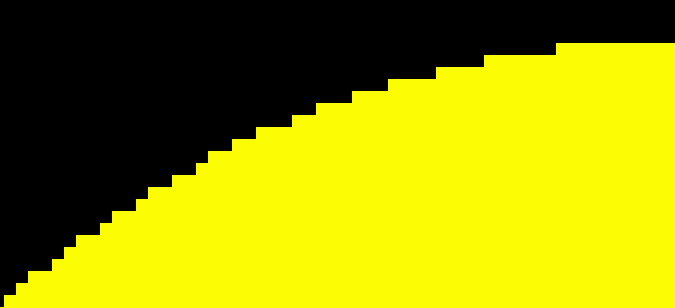
Take a pixel which is halfway in and out of the image. The mask colors this as a 50% gray so that the person color and the background color in Painter will mix 50|50. This is good. The image also combines the person color (yellow) with the background (black) and comes up with a dark yellow. If I place my final floater in Painter against a black background everything will look good. But what if I put it against a white background? My dark yellow will mix 50|50 with white and I'll get some yucky thing.

What poser should really be doing, is anti-aliasing all of the interior pixels properly, and leaving the edge pixels alone for the image and only anti-aliasing the edges on the mask. This would give a proper "alpha blend" at the edges of your image.
So, how do you solve this problem? The answer is easy in concept: All you need to do is get the colors from the edge of your image pushed out through the anti-aliased zone. Fortunately, Painter offers a way to accomplish this. It's a little tedious, but it is worth it for those high quality images.
The Distorto brush. Load your image nozzle as a normal image, or if it is in the nozzle drawer, check it out. You don't want to change the actual image, just the stuff around it's edges, so turn on the Paint Outside Mask icon. Pick the Distorto brush, make it smaller than the huge that it is.
Now, using your small Distorto brush, push the color at the edge of the image out. This will cover over the dark fringe areas.
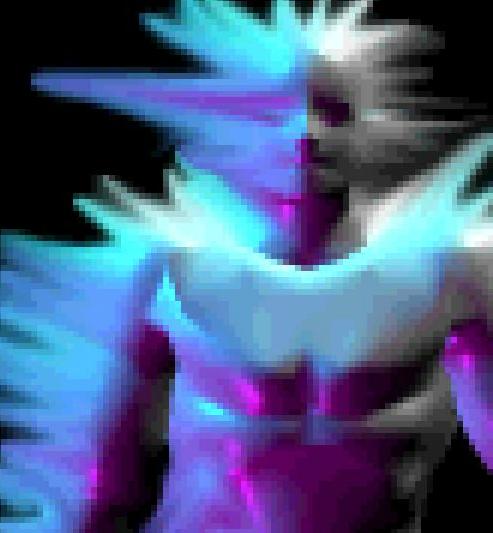
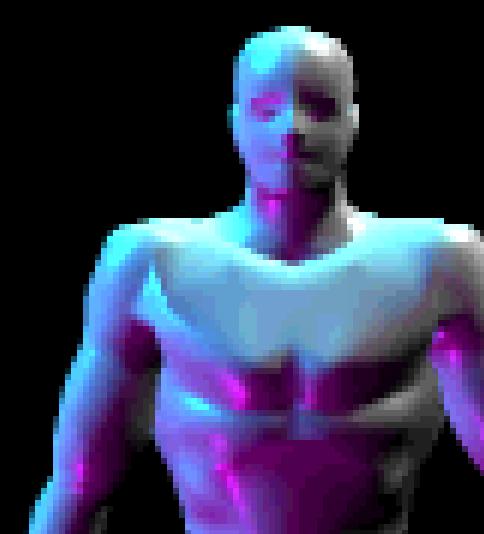
I made a gross error on purpose to show you a warning. Look at the eye on the left. See how I've smeared the purple color from the shadow of the eye all the way out past the fringe. This will put a purple color at the edge of his head there, when careful inspection of the original shows that the right color is light blue. What am I driving at? Don't use a big brush and long strokes. You only want to pull a couple of pixels of color from near the edge across the edge.
It takes a long time, but it is the best way that I have found if you want really good looking results. So, anyway, now you can save the nozzle image again and use it.